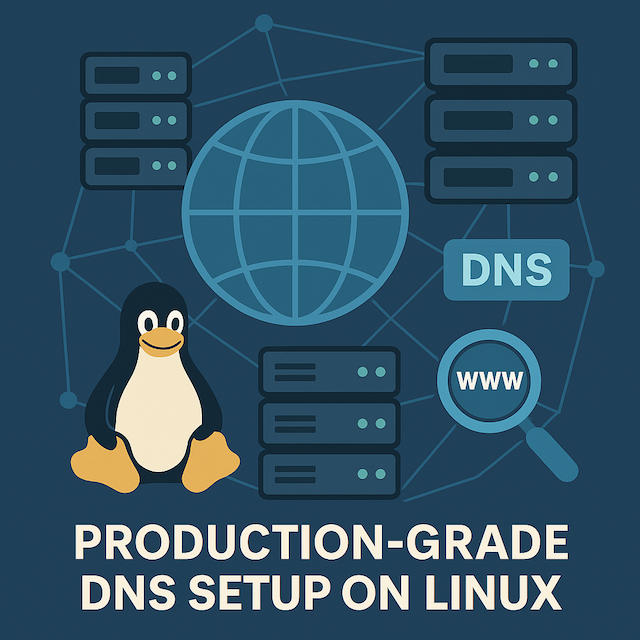
Setting Up a Production-Grade DNS Server on Linux Using BIND
Category: Linux | Tags: DNS, BIND, Linux, DNS Server, DNS Setup, Production DNS, Enterprise DNS, DNS Security, SELinux, AppArmor, DNS Views, DNS Forwarding, DNSSEC, Network Infrastructure, Server Administration, DNS Configuration, DNS Tutorial, DNS Best Practices, DNS Monitoring, Split DNS, Recursive DNS | Posted on: May 17, 2025
DNS (Domain Name System) is a foundational component of modern networking. It translates human-friendly domain names (like example.com) into machine-readable IP addresses. A properly configured DNS server is vital for performance, reliability, and security in any organization’s IT infrastructure.
In this guide, we’ll walk through setting up a secure, scalable, and production-ready DNS server using BIND on Linux, with a focus on best practices.
Why DNS Matters
Every internet interaction—from browsing to sending emails—depends on DNS. Without it, users would need to remember IP addresses instead of names.
Types of DNS servers include:
- Authoritative DNS: Stores DNS records for domains and answers queries directly.
- Recursive DNS: Looks up records on behalf of clients by querying other DNS servers.
This tutorial covers both authoritative and recursive DNS configurations.
Choosing the Right Linux Distribution
For enterprise environments, use a secure and stable Linux distribution such as:
- RHEL/CentOS/AlmaLinux/Rocky (RPM-based)
- Ubuntu/Debian (DEB-based)
Choose a distro with a good security framework (SELinux/AppArmor), active updates, and a minimal install footprint.
Step 1: Installing BIND
On RHEL-based systems:
sudo dnf install bind bind-utils -y
On Debian/Ubuntu:
sudo apt-get update
sudo apt-get install bind9 dnsutils -y
Step 2: Basic BIND Configuration
Edit BIND's main configuration file:
- RHEL: /etc/named.conf
- Debian: /etc/bind/named.conf.options
acl trustedclients {
   10.26.0.0/24;
   127.0.0.1;
};

options {
   directory "/var/named";
   listen-on port 53 { 127.0.0.1; 10.26.0.11; };
   allow-query { trustedclients; };
   recursion yes;
   forwarders { 8.8.8.8; 8.8.4.4; };
   forward only;
   dnssec-enable yes;
   dnssec-validation auto;
};


Step 3: Creating Zones
Add the zone definition to named.conf:
zone "example.com" IN {
   type master;
   file "example.com.zone";
   allow-update { none; };
};
Step 4: Writing the Zone File
Create the file /var/named/example.com.zone:
$TTL 86400
@  IN SOA ns1.example.com. admin.example.com. (
       2025051701 ; Serial
       3600      ; Refresh
       1800      ; Retry
       604800    ; Expire
       86400      ; Negative Cache TTL
)
@      IN NS     ns1.example.com.
ns1    IN A      10.10.1.11
www    IN A      10.10.1100
Step 5: Configuring Split DNS (Views)
Split DNS allows different responses for internal and external users.
acl "internal" {
   10.26.0.0/24;
};

acl "external" {
   any;
};

view "internal" {
   match-clients { internal; };
   recursion yes;
   zone "example.com" {
       type master;
       file "internal.example.com.zone";
   };
};

view "external" {
   match-clients { external; };
   recursion no;
   zone "example.com" {
       type master;
       file "external.example.com.zone";
   };
};
Step 6: Validating and Reloading Configuration
Run these commands to check and apply your configuration:
sudo named-checkconf
sudo named-checkzone example.com /var/named/example.com.zone
sudo rndc reload
Step 7: Testing Your DNS Server
Use dig to verify DNS responses:
dig @10.10.1.11 example.com
dig @10.10.1.11 www.example.com
Step 8: Securing the DNS Server
Enable SELinux policies and restore correct permissions:
sudo setsebool -P named_write_master_zones 1
sudo setsebool -P named_tcp_bind_http_port 1
sudo restorecon -Rv /var/named
Conclusion
A secure and properly configured DNS server is key to a stable and trusted network. With BIND on Linux, and by implementing ACLs, views, DNSSEC, and proper permission handling, you can build a DNS infrastructure that is both reliable and secure for production use.
Comments
Leave a Comment
No comments yet. Be the first to comment!